- /
- /
- /
Configuring IPsec IKEv2 Remote Access VPN Clients on iOS
As of version 9, iOS has built-in support for IKEv2 that can be configured from the GUI without requiring a VPN Profile. As with other clients, the CA Certificate must be installed.
Import the CA to the iOS Device
Importing the CA Certificate to the client device is a relatively easy process. The first step is to get the CA Certificate to the client device. The easiest way to accomplish this is via e-mail as shown in Figure iOS Mail Client Receiving CA Certificate
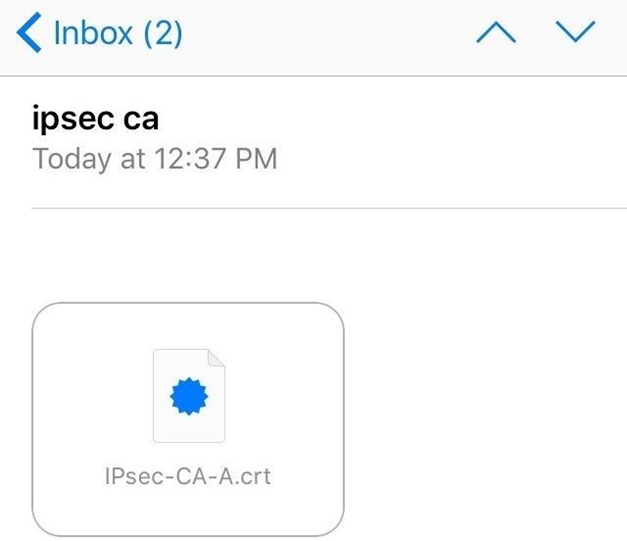
To install the certificate from e-mail:
- Send the CA Certificate only (not the key) to an e-mail address reachable from the client device
- Open the Mail app on the client device
- Open the message containing the CA Certificate
- Tap the attachment to install the CA Certificate and the Install Profile prompt will show as seen in iOS CA Certificate Install Profile Prompt
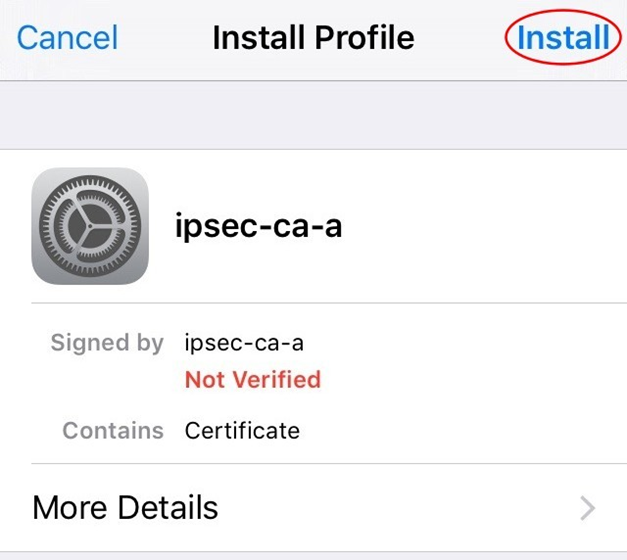
Fig. 31: iOS CA Certificate Install Profile Prompt
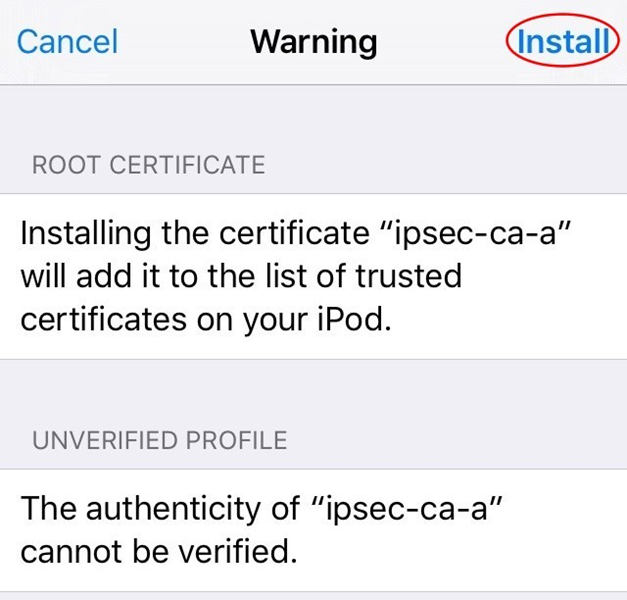
- Tap Install in the upper right, and a warning screen is presented as shown in iOS CA Certificate Install Warning Tap Install in the upper right once more to confirm and then one final prompt is presented as seen in iOS CA Certificate Confirmation Prompt Tap Install at the confirmation prompt and the CA Certificate is now stored as a trusted entry.

Setup the VPN Connection
Once the CA Certificate has been installed, a VPN entry must be configured:
- Open SettingsTap GeneralTap VPN
• Tap Add VPN Configuration
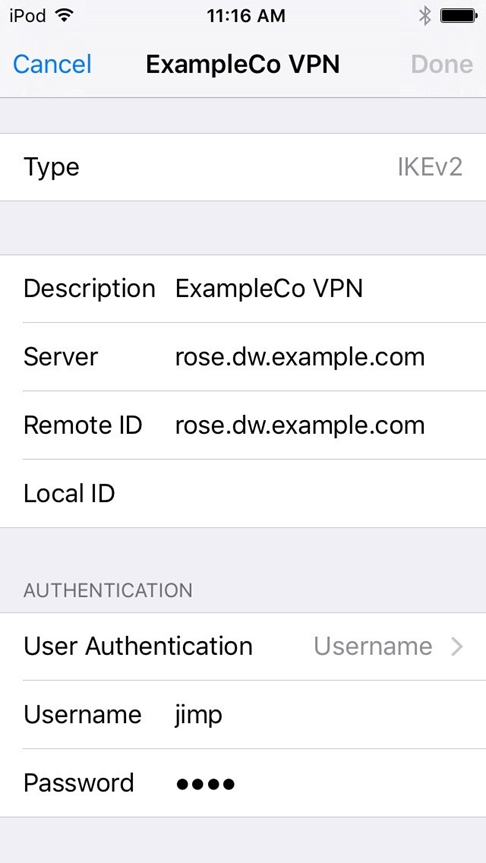
- Set Type to IKEv2 (default)
- Enter some text for the Description (e.g. ExampleCo VPN)
- Enter the hostname of the firewall in DNS as the Server
- Enter the hostname of the firewall again in Remote ID
Note: This must match the server certificate’s Common Name and SAN entry.
- Leave Local ID blank
- Set User Authentication to Username
- Enter the Username and Password
Note: With EAP-MSCHAPv2 the Username is the Identifier configured for the user’s entry on the Pre-Shared Keys tab under VPN > IPsec. With EAP-RADIUS this would be the username set on the RADIUS server.
- Tap Done to complete the VPN entry. When complete, it looks similar to this Figure.
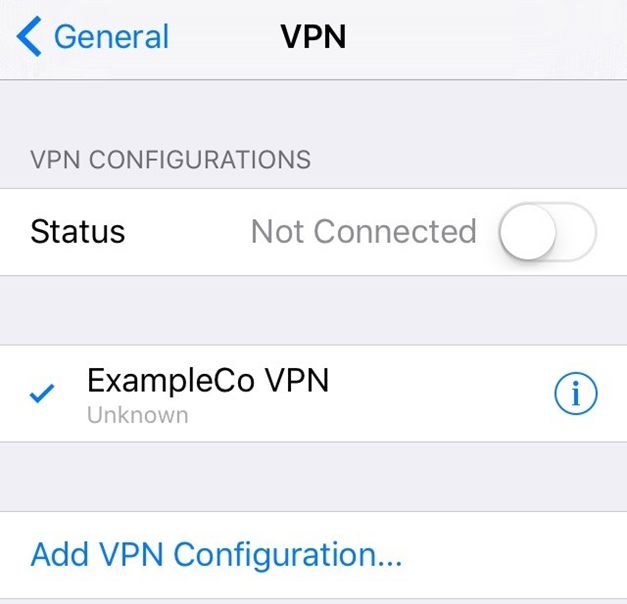
Connecting and Disconnecting
The VPN may be connected or disconnected by visiting the VPN entries under Settings. This varies a bit but typically shows in at least two places:
- Settings > VPN
- Settings > General > VPN
The entry directly under Settings appears near the top of the list with the other Network entries (Airplane mode, Wi-Fi, and Bluetooth) once there is at least one VPN connection present.
Once in the VPN list, the VPN entry must be selected (shows a checkmark next to its entry) and then the slider may be moved to the “On” position to connect.