- /
- /
- /
Configuring IPsec IKEv2 Remote Access VPN Clients on OS X
As of OS X 10.11 (El Capitan) it is possible to configure an IKEv2 type VPN manually in the GUI without needing a VPN Profile configuration file. Configuration for IKEv2 is integrated into the network management settings the same as other connections. Before a client can connect, however, the VPN Server’s CA Certificate must be imported.
Import the CA Certificate into OS X
- Copy the CA Certificate to the OS X system
- Double click the CA Certificate File in Finder , which opens Keychain Access
- Locate the imported certificate under Login, Certificates as shown in Figure OS X Keychain Access Login Certificate List
- Drag the certificate on to System
- Enter the login credentials and click Modify Keychain

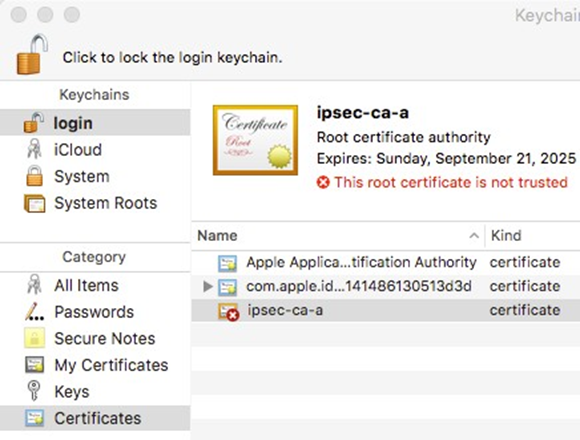
Locate the imported certificate under System, Certificates as shown in Figure OS X Keychain Access System Certificate List
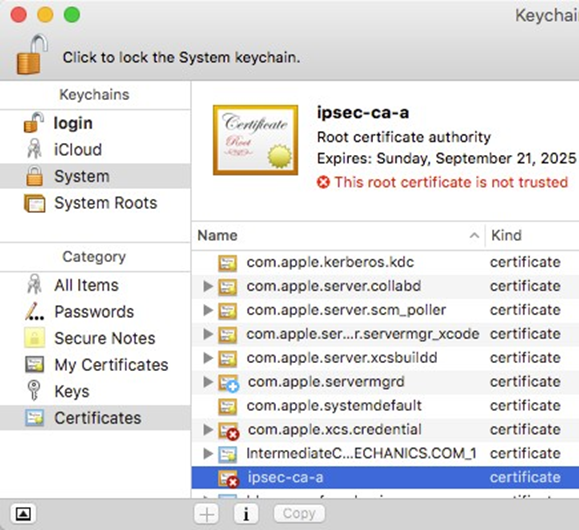
- Click the Certificate
- Click File > Get Info
- Expand Trust
- Set When using this certificate to Always Trust as shown in Figure OS X Certificate Trust Settings
- Click the red close button to close the certificate info window, which will cause an authentication prompt to allow the change.
- Enter the login credentials and click Update Settings
- Quit Keychain Access
The certificate is now located in System Certificates and has been marked as trusted so it can be used for the VPN.
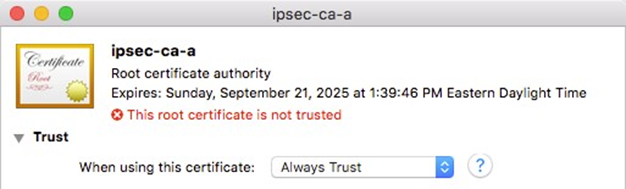
Fig. 24: OS X Certificate Trust Settings
Setup the VPN Connection
- Open System Preferences
- Click Network
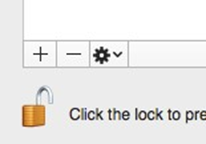
- Click the lock icon and enter credentials to make changes if the settings have not already been unlocked
- Click + to add a new VPN entry as shown in Figure OS X Add Network Button
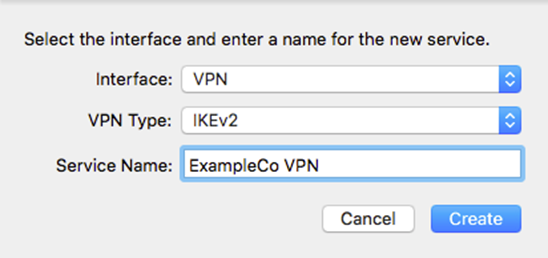
- Select VPN for the Interface
- Select IKEv2 for the VPN Type (default)
- Set Service Name to a description for the VPN (e.g. ExampleCo VPN) to complete the form, which will look similar to Figure OS X Create VPN Prompt
- Click Create
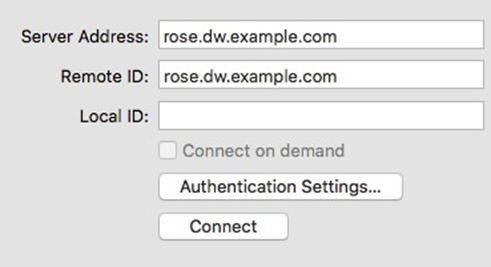
- Enter the hostname of the firewall in DNS as the Server Address
- Enter the hostname of the firewall again in Remote ID
Note: This must match the server certificate’s Common Name and SAN entry.
- Leave Local ID blank, the settings will now look like Figure OS X IKEv2 VPN Settings
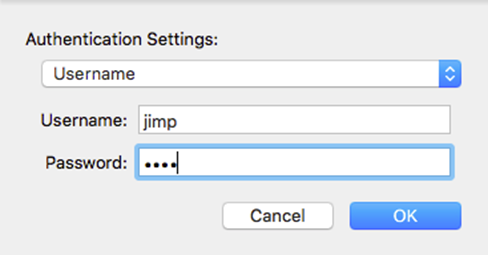
- Click Authentication Settings
- Select Username
- Enter the Username and Password as shown in Figure OS X IKEv2 VPN Authentication Settings
Note: With EAP-MSCHAPv2 the Username is the Identifier configured for the user’s entry on the Pre-Shared Keys tab under VPN > IPsec. With EAP-RADIUS this would be the username set on the RADIUS server.
- Check Show VPN status in the menu bar (if desired)
- Click Apply
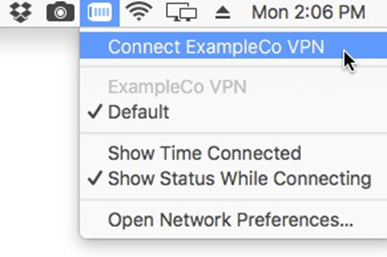
Connecting and Disconnecting
Managing the connection can be done multiple ways. The first method is to click Connect or Disconnect on the VPN entry in Network settings. The second, easier method is to check Show VPN Status in the menu bar in the VPN settings and then manage the connection from that icon, as shown in Figure OS X VPN Status Menu.