- /
- /
- /
Install and configure RADIUS
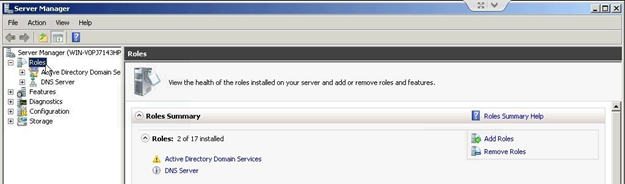
If RADIUS isn’t already set up, add the role to the Domain Controller. If it is set up, skip this step. Open Server Manager and click the Roles node in the tree on the left.

On the right side, click Add Roles.
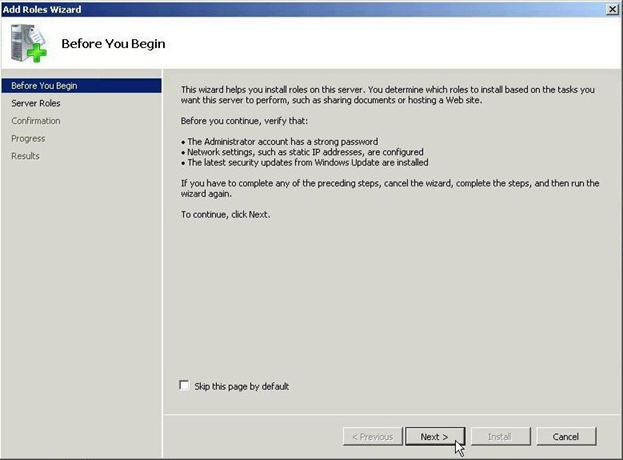
This will open the Add Roles Wizard.
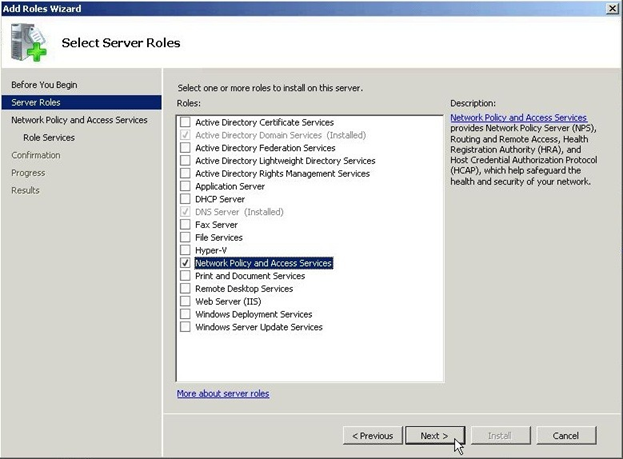
Check Network Policy and Access Services.
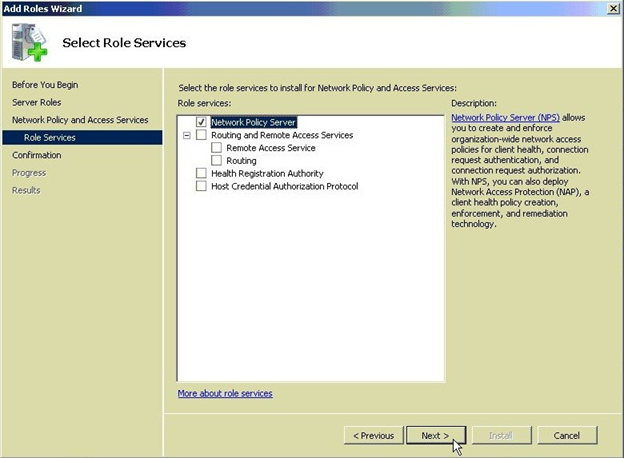
Select Network Policy Server.
If all went well there is now a *Network Policy and Access Services* node in the tree.

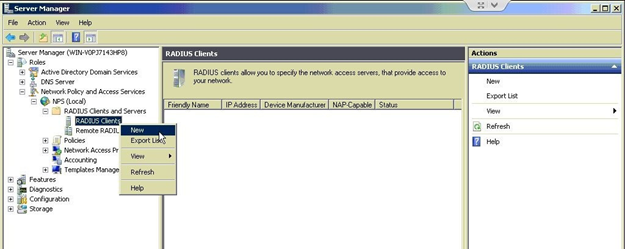
Expand the Network Policy and Access Services node, go to NPS (Local) > RADIUS Clients and Servers, right- click RADIUS Clients and choose New.
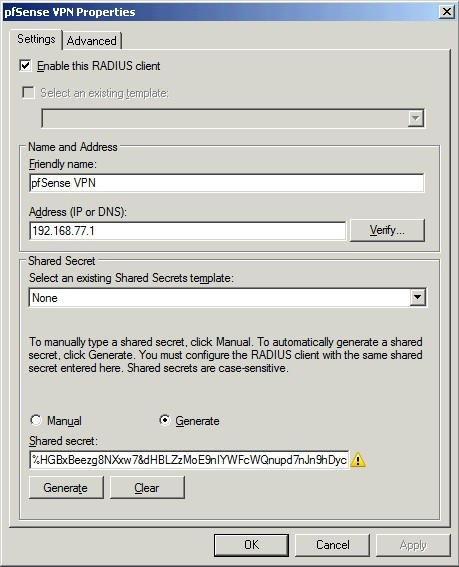
In the Friendly name field, enter AZTCO-FW VPN or anything deemed appropriate. In the Address (IP or DNS) field, enter the IP address of the AZTCO-FW firewall. Mine is 192.168.77.1. Shared Secret: check Generate and save the shared secret; It will be needed later on.
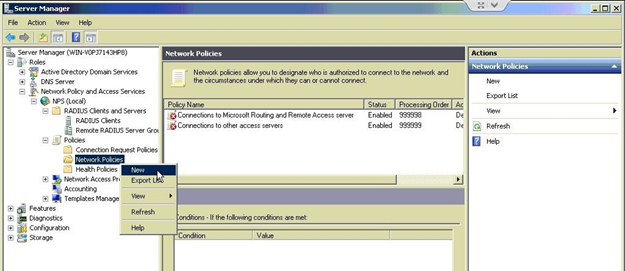
Under NPS (Local) > Policies right-click Network Policies and select New.
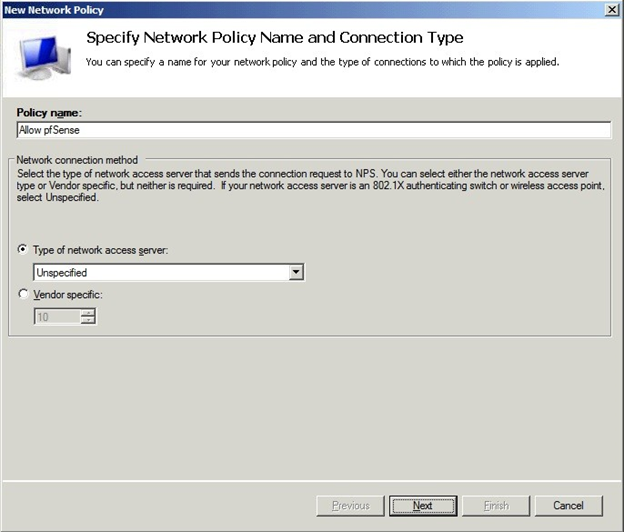
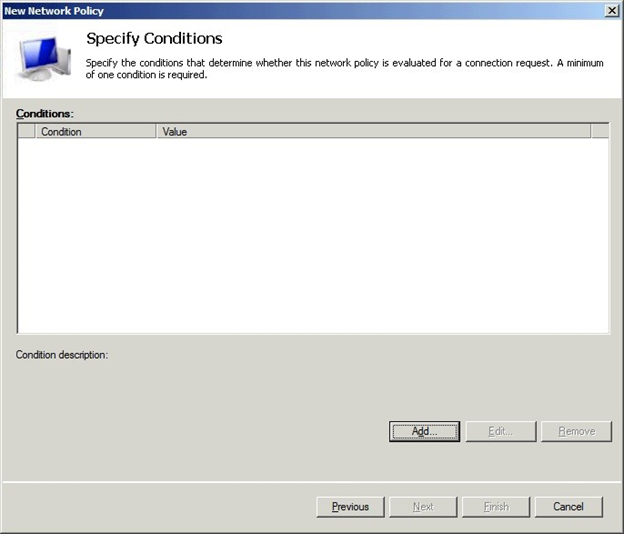
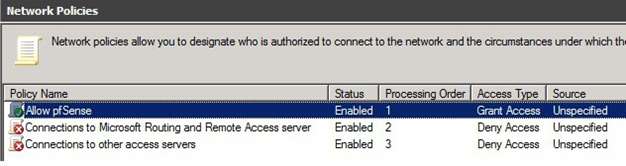
In the Policy name field, enter Allow AZTCO-FW. Type of network access server: Unspecified.
In the Specify Conditions window, click Add. . .
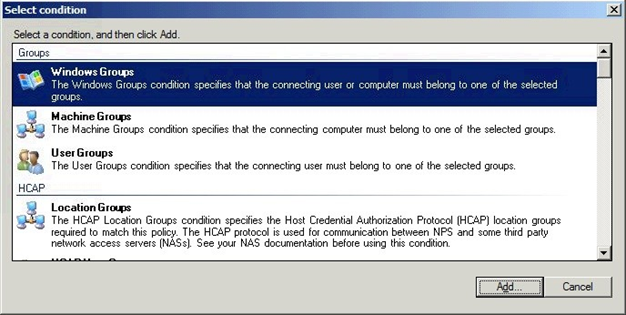
Select Windows Groups and click Add. . .
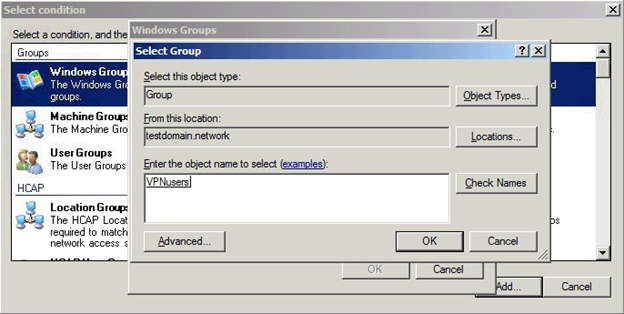
Click Add Groups. . . and add the group VPNusers (or whatever group is needed).
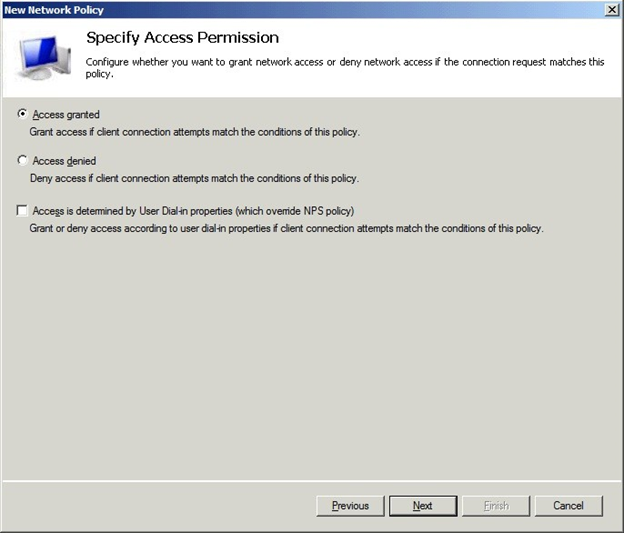
Back in the Specify Conditions window, click Next and select Access granted.
Put the new policy before policies preventing the connection. Mind the Processing Order field. Thanks to Dan for alerting me on this.
In the Configure Authentication Methods window, check Unencrypted authentication (PAP, SPAP).
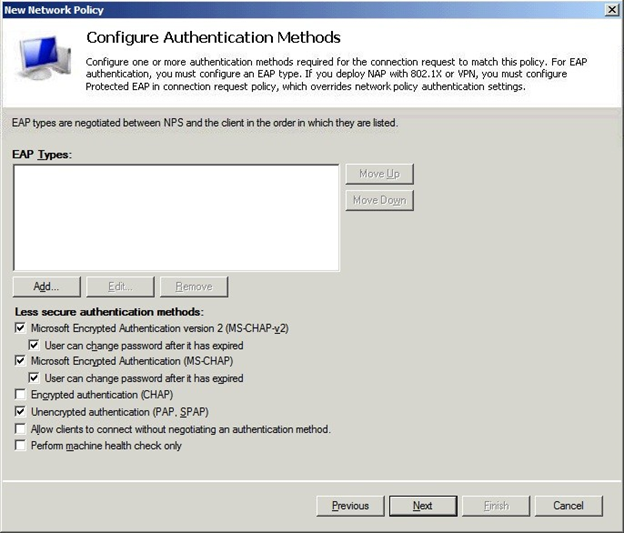
Skip the next wizard window (Constraints) or configure it if desired. I suggest leaving it as it is until after confirming the VPN works.
It’s done. Next, Next, Finish until the end.