- /
- /
- /
Installing the OpenVPN Client on Mac OS X
There are three client options for Mac OS X.:
- The OpenVPN command line client. Most users prefer a graphical client, so this option will not be covered.
- Tunnelblick, a free option available for download at the Tunnelblick Website.
- The commercial Viscosity client. At the time of this writing, it costs $14 USD for a single seat. If OpenVPN is used frequently, Viscosity is a much nicer client and well worth the cost.
Both Tunnelblick and Viscosity are easily installed, with no configuration options during installation.
Configuring Viscosity
When using the Viscosity client, it can be configured manually or the OpenVPN Client Export package may be used to import the configuration. Viscosity provides a GUI configuration tool that can be used to generate the underlying OpenVPN client configuration. The CA and certificates can be imported manually, and all of the parameters can be set by hand. This section cover importing a Viscosity bundle from the export package.
- Download a copy of the Viscosity bundle for the client from the OpenVPN Client Export package
- Locate the saved file, which will end in .visc.zip indicating that it is a compressed archive
- Copy this exported bundle to a folder on the Mac
- Double click this file and it will expand to Viscosity.visc
- Double click Viscosity.visc and Viscosity will open and import the connection as shown in Figure

- Delete the Viscosity.visc directory and the .zip archive
- Viscosity will be running after import, and may be found in the menu bar
- Click the lock icon added to the menu bar at the top of the screen
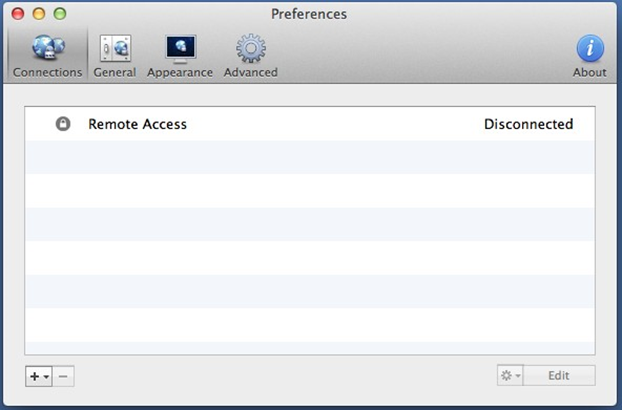
- Click Preferences to check that the configuration was imported as shown in Figure 71: Viscosity Preferences
- Check the Connections area to see if the connection imported successfully as shown in Figure 72: Viscosity View Connections
- Close the Preferences screen
- Click the lock in the menu bar

- Click the name of the VPN connection to connect as shown in Figure 73: Viscosity Connect After a few seconds, the lock in the menu bar will turn green to show it connected successfully.

- Click on it and then click Details
On the first screen , the connection status, connected time, the IP assigned to the client, and the IP of the server are all displayed. A bandwidth graph is displayed at the bottom of the screen, showing the throughput in and out of the OpenVPN interface.
Clicking the up/down arrow button in the middle of the details screen displays additional network traffic statistics. This shows the traffic sent within the tunnel (TUN/TAP In and Out), as well as the total TCP or UDP traffic sent including the overhead of the tunnel and encryption. For connections using primarily small packets the overhead is considerable with all VPN solutions. The traffic sent in bringing up the connection is also counted here, so the initial overhead is higher than what it will be after being connected for some time. Also, the typical VPN traffic will have larger packet sizes than 64 byte pings, making the total overhead and difference between these two numbers considerably less.
Clicking on the third icon in the middle of the Details screen shows the OpenVPN log file.