- /
- /
- /
Set up outbound NAT at Site B
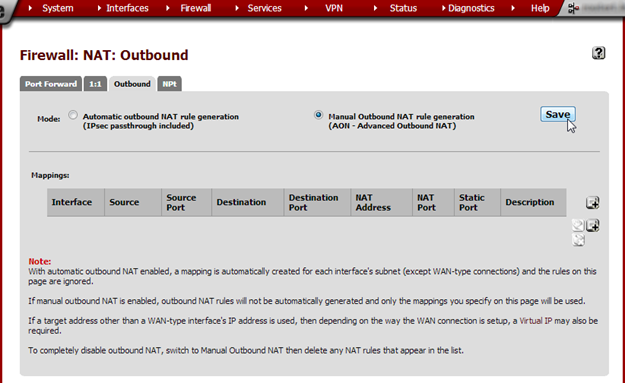
From the Firewall menu, choose NAT and click on the Outbound tab. Select Manual Outbound NAT rule genera- tion (AON – Advanced Outbound NAT) and click Save. On the next page, click Apply Changes.
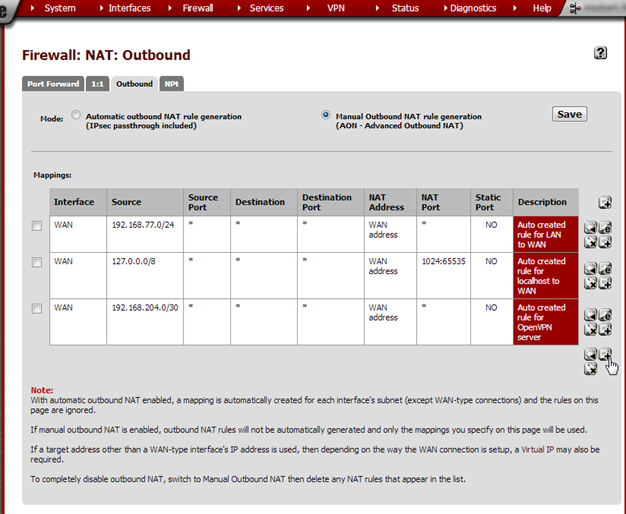
A couple of rules are generated automatically but we need to add a NAT entry for Site A’s subnet. Click on the +button.
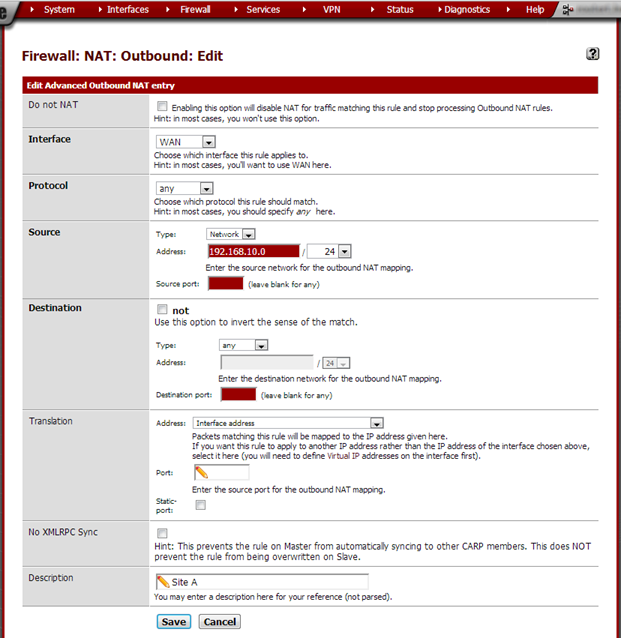
Enter these values:
| Do not NAT | not checked | |
| Interface | WAN | Unless using a different interface for the VPN |
| Protocol | any | |
| Source | Type: Network Address: 192.168.10.0/24 Source port: leave empty | Site A’s subnet |
| Destination | Type: any Destination port: leave empty | |
| Translation | Address: Interface address Port: leave empty Static port: not checked | |
| No XMLRPC Sync | Leave unchecked | |
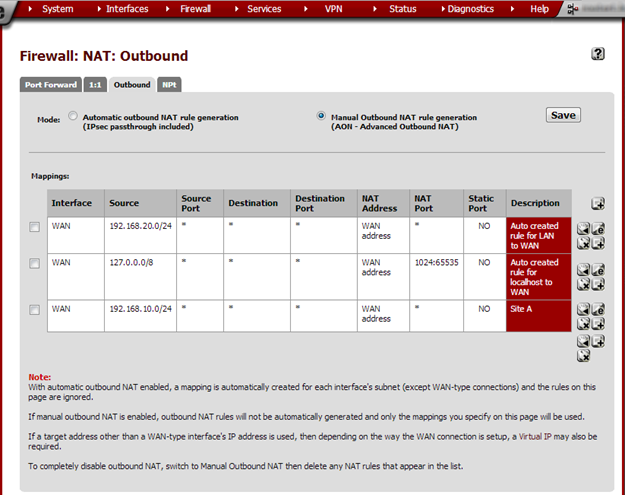
| Description | Site A |
Click Save and on the next page click Apply Changes.