- /
- /
- /
Set up the IPsec tunnel Phase 1
Site A Configuration
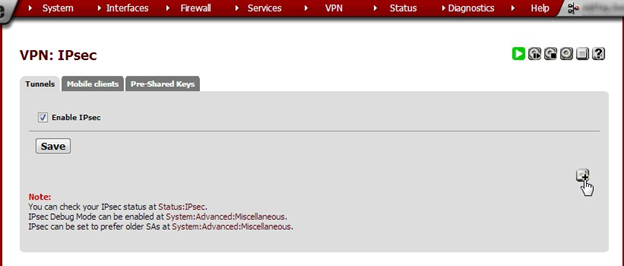
In the VPN menu select IPsec. It opens on the Tunnels tab. Click the + button to create a new Phase 1 setup. (Make sure Enable IPsec is checked and saved.)
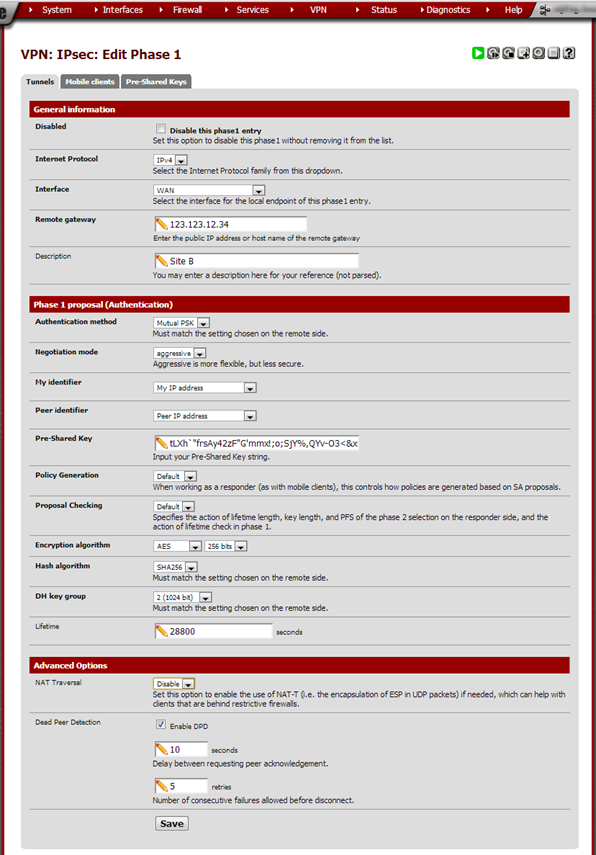
Enter these values:
| Field | Value | Notes |
| Internet Protocol | IPv4 | |
| Interface | WAN | Unless using a separate OPT interface |
| Description | Site B | The site’s locality or another suitable description |
| Authentication method | Mutual PSK | |
| Negotiation mode | aggressive | |
| My identifier | My IP address | |
| Peer identifier | Peer IP address | |
| Pre-Shared Key | A long key. | This can be generated using external utilities but be careful to copy it without extra spaces. |
| Policy Genera- tion | Default | |
| Proposal Check- ing | Default | |
| Encryption algo- rithm | AES 256bits | Read this comparison of encryption algorithms. |
| Hash algorithm | SHA256 | Read this comparison of hash algorithms. |
| DH key group | 2 (1024 bit) | Read this explanation of Perfect forward secrecy. |
| Lifetime | 28800 | |
| NAT Traversal | Disable | Turn this off unless it is definitely needed. |
| Dead Peer Detec- tion | Enable: 10 seconds, 5 retries | Leave this on unless the other side does not properly support DPD. |
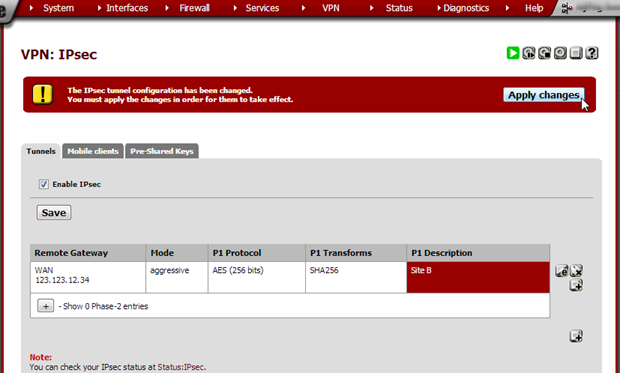
Note that the Phase 1 entry is now shown on the IPsec page. Click Save and in the next screen click Apply Changes.
Site B Configuration
Do the same as in Site A but in the Remote Gateway field enter Site A’s public IP address or FQDN and in the
Description field enter ‘Site A’.