- /
- /
- /
The client
This part is done on the user’s computer. Screenshots were taken in Windows but Shrew Soft VPN is available for Linux and BSD (so probably Mac) too.
Download and install Shrew Soft VPN.
Once finished, open ipseca.exe. The VPN Access Manager window is presented. (Window title bar is missing in the screenshots)

Press the big round Add button to set up a tunnel configuration.
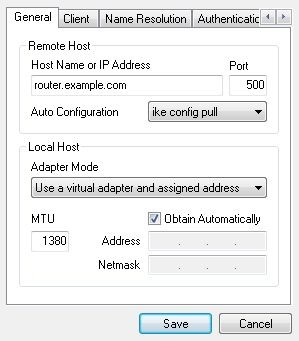
On the General tab, enter the IP address or host name AZTCO-FW firewall. Leave the rest as it is. The default values in new versions of the Shrew Soft VPN client may change so in case of doubt, stick to the screenshots
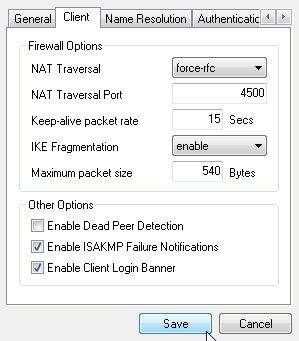
On the Client tab, set NAT Traversal to force-rfc and uncheck Enable Dead Peer Detection. If these settings are wrong, an established tunnel may not let any traffic through.
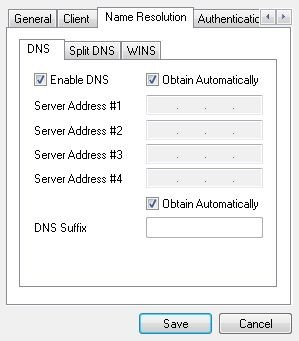
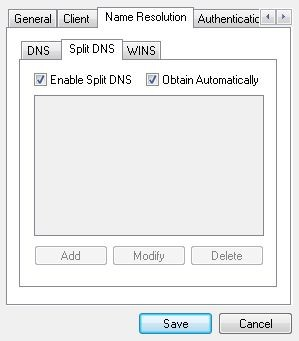
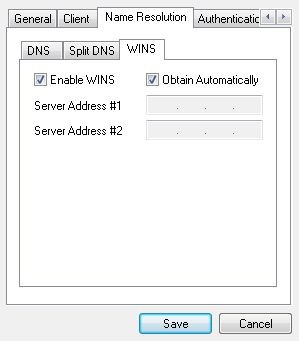
Don’t change anything on the Name Resolution tab; these settings are all automatically set by the AZTCO-FW software. Relevant information could be entered here but if the settings were configured on the firewall, they need not be set here.
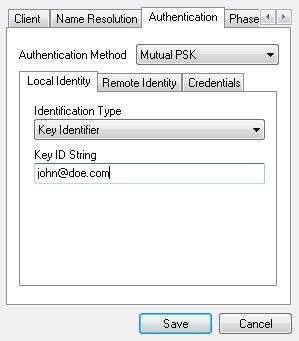
Go to the Authentication tab. Set Authentication Method to Mutual PSK. Under Local Identity, choose Key Identifier as the Identification Type and enter the user’s e-mail address (or whatever was used as an identifier) in the Key ID String field.
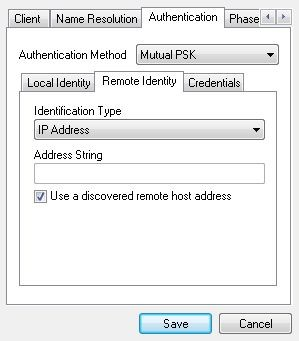
Under Remote Identity, set Identification Type to IP Address and check Use a discovered remote host address.
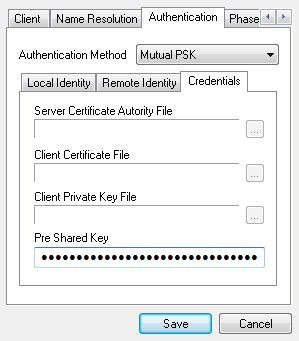
Finally, under Credentials, enter the Pre Shared Key associated with the e-mail address.
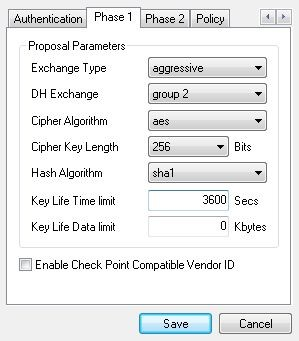
Now scroll over to the Phase 1 tab. Set the Cipher Algorithm to aes or whatever was entered on the Phase 1 page in the AZTCO-FW software. Cipher Key Length to 256 (or whatever etc.) and Hash Algorithm to sha1. Set the Key Life Time limit to 3600.
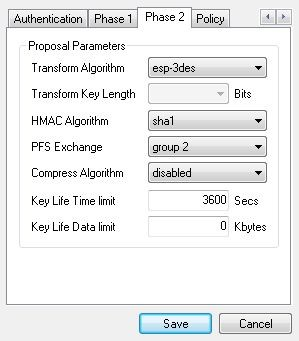
Phase 2 tab: set Transform Algorithm to esp-3des, HMAC Algorithm to sha1 and PFS Exchange to group 2
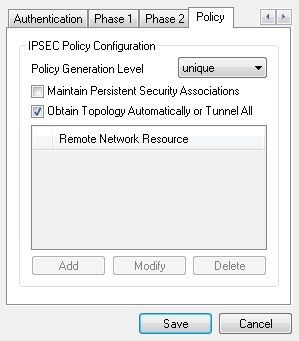
Nearly there! Go to the Policy tab and set Policy Generation Level to unique.
Click Save and give the newly created configuration an appropriate name.
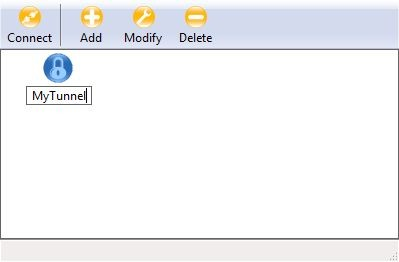
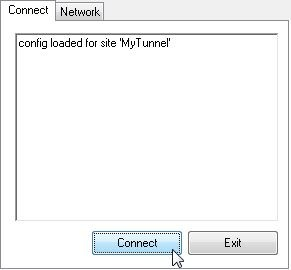
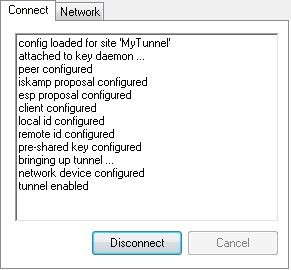
Double-click the configuration and the tunnel window will pop up. Click Connect to start the tunnel.
Click Disconnect to. . . disconnect the tunnel.
That’s it! A working IPsec tunneling system is now in place.